


Temporary User FAQs: Create and Share
In order to share your ULTRALOQ smart lock, you first have to create a user. There are 3 types of users we can create; Admin, Normal, and Temporary. This FAQ will assist you with a Temporary User creation and sharing of your lock.
In what situations should I create a Temporary User?
- Access needed for a Fixed duration
- Short term rental guests (check-in/check-out)
- Contractors (e.g. 2 month project)
- Schedules can be created to limit access to certain days of the week and/or certain times
- Dog walker (e.g. M-F 1pm to 3pm)
- House cleaner
- Limit the number of times lock can be unlocked
- Delivery/One-time Service (proceed at your own as you’re allowing a stranger in)
- Family or Friend to drop something off
In what situations should I create a Normal User?
- Access needed permanently
- Family
- Roommates
What type of access should I give my user (Keycard/Fingerprint, Code, or App)?
Choose the type of access that is most efficient for you and your user. Some use cases are provided below. This is ultimately for you to decide.
- Family – Keycard/Fingerprint, Code, and App
- Airbnb guest – Code, and App
- House cleaner – Code
- Contractor – App
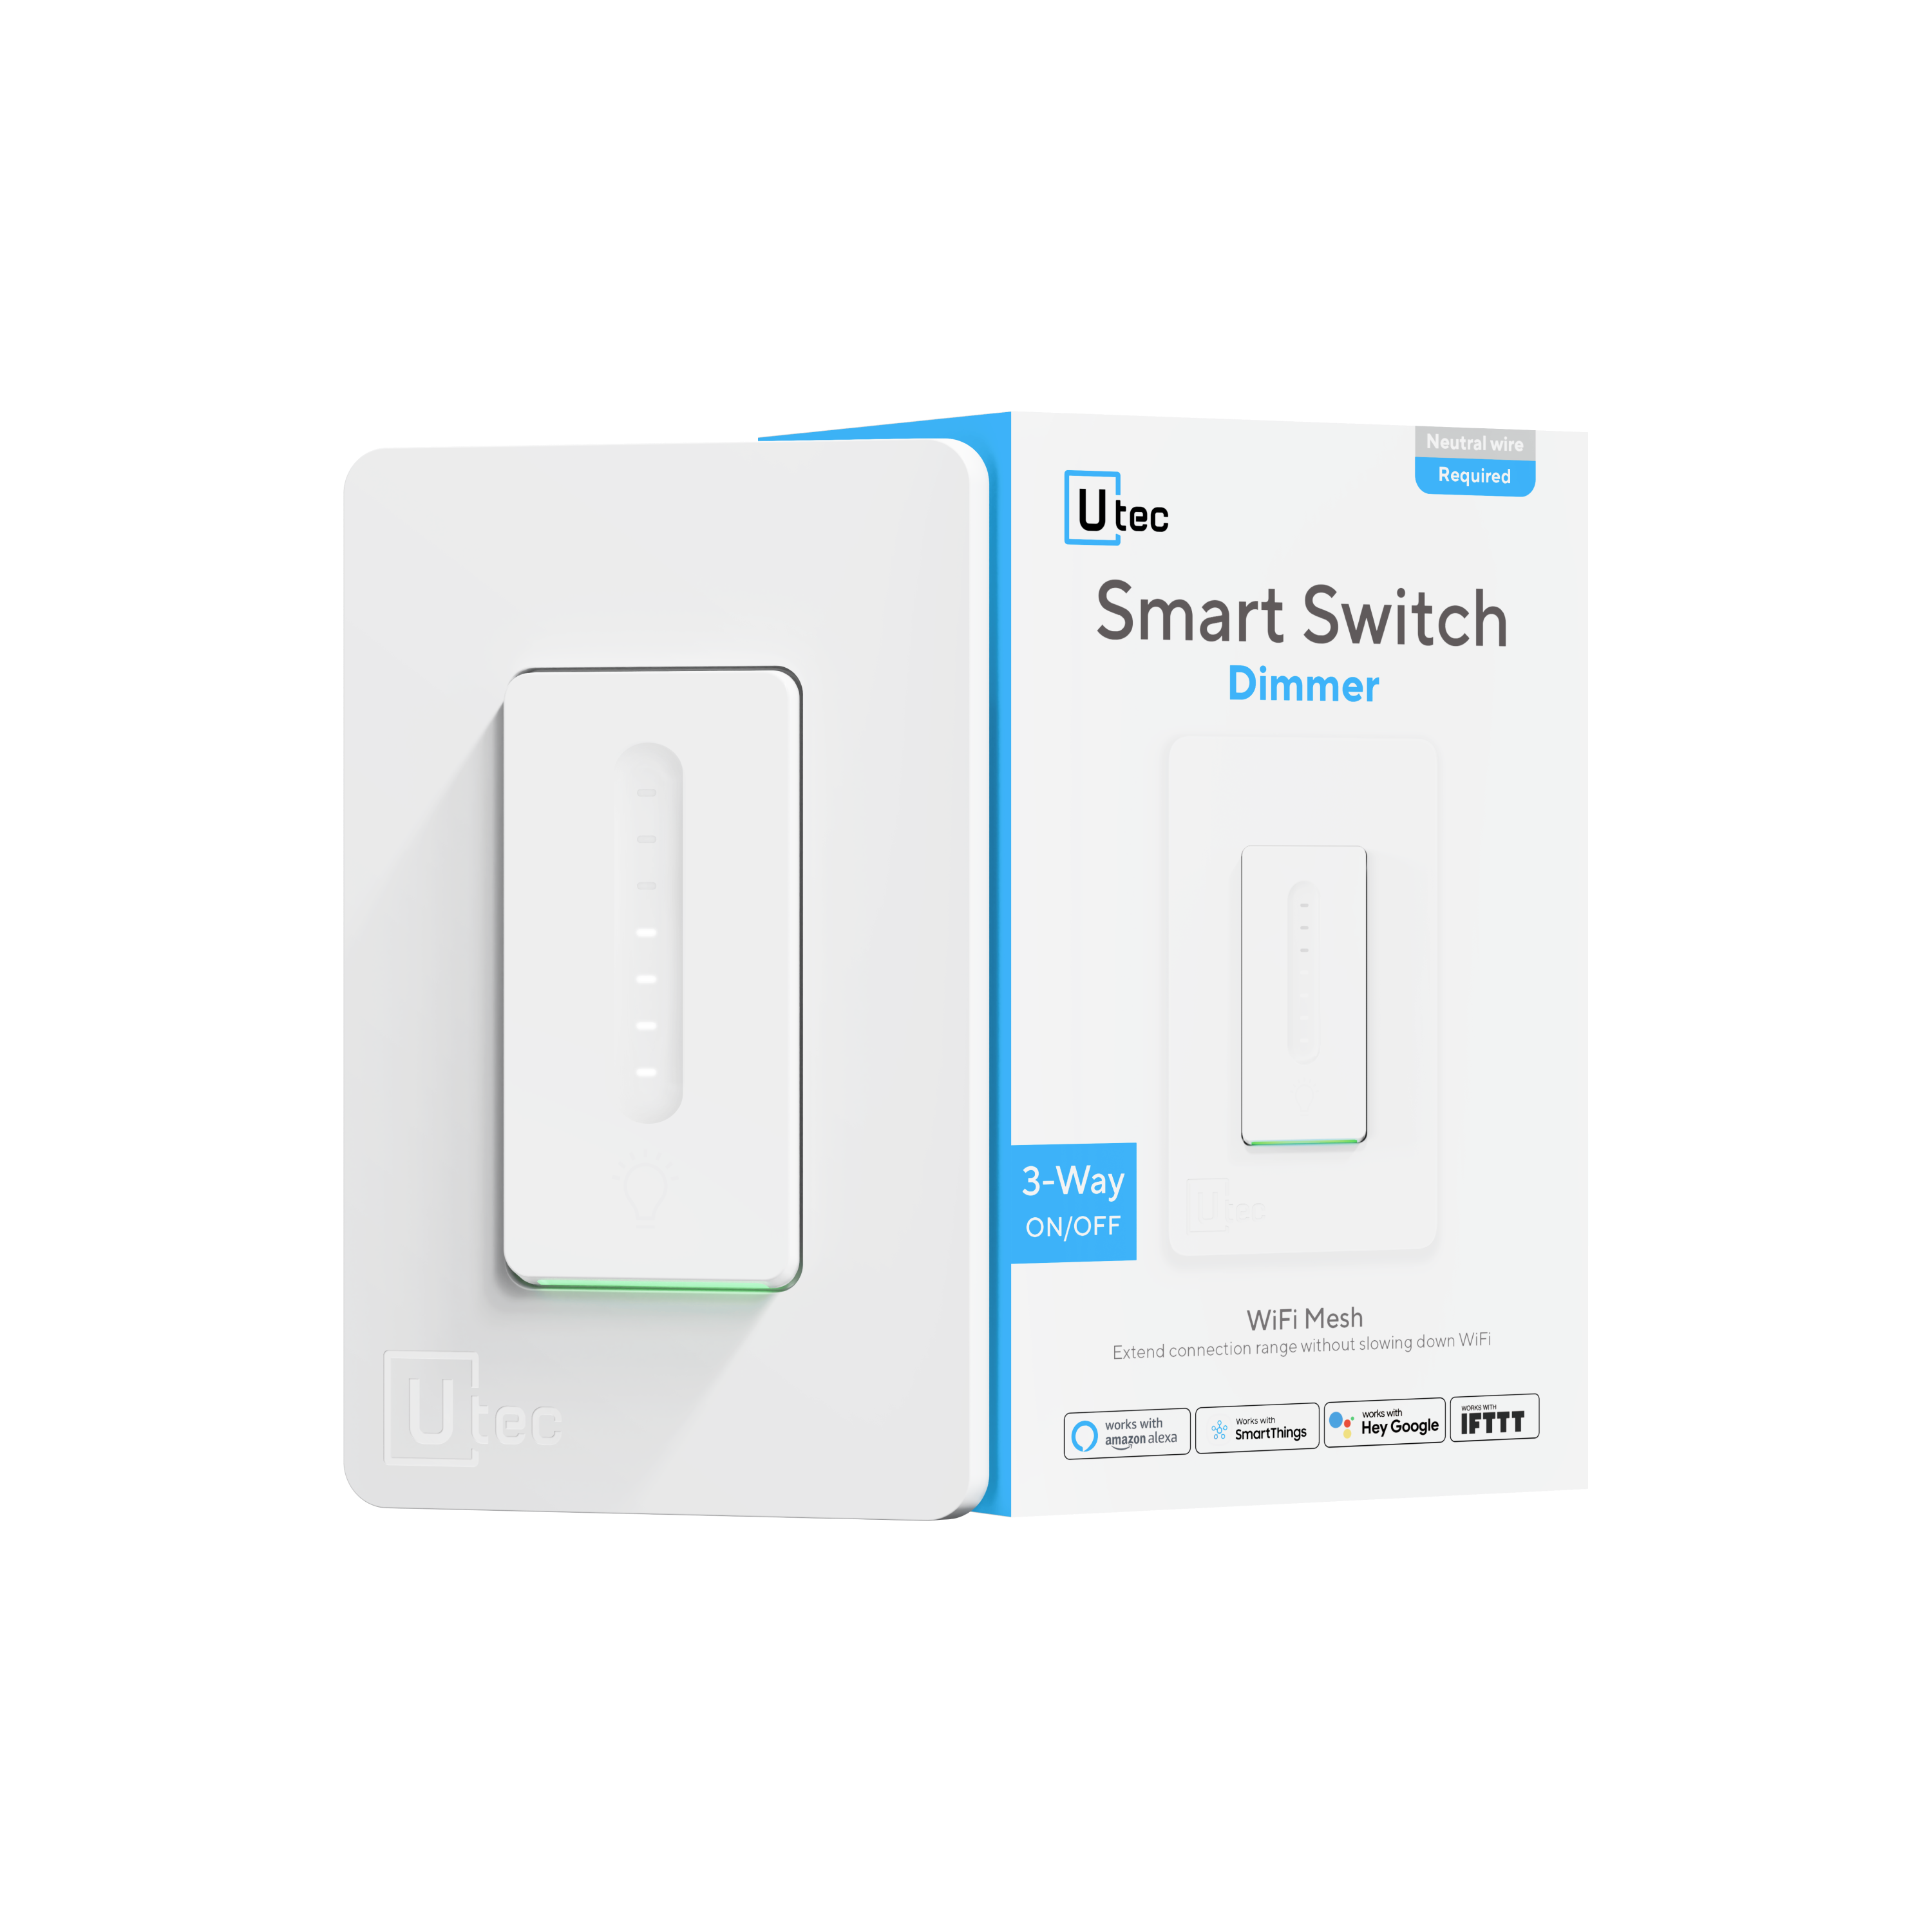
Creating a Temporary User with U home App
- Open the U home App and log in as an Admin (Admins can create Normal & Temp Users)
- Click the User icon of the lock you want to give access to
- Tap the + icon on the upper right-hand corner
- Select Temporary User as the User Type and enter a user name
- Add a Keycard or Fingerprint (depending on lock model) or Skip
- Enter a 4-8 digit access code if you want the user to have access, or Skip
- Provide your user access from the Schedule screen (Detailed instructions below)
- Allow your user App access and enter their email on the next screen, or Skip
- A confirmation email will be sent to the email you provided, and will instruct the recipient to download the U home App and create an account. Once logged in, the shared lock can be accessed by the user.
- Confirm, and you’ve created a Temporary User
Scheduling instructions (#7 above)
- Access Date – For Temp Users that have no time or day restrictions between the start date/time until the end date/time. Choose your schedule and you’re done. Don’t worry about the sections under this. Click Save.
- Begin Date and Time – Select the date/time you would like the Temp User to start having access.
- End Date and Time – This is the date/time you would like the Temp User’s access to end.
For example – Airbnb guest booked for 11/1/2025 3PM check-in and 11/15/2025 11AM check-out
- Repeat Days – Deselecting a day from Blue to Gray will render that day No Access
- Leave all days Blue if you don’t want to impose restrictions.
- For example – Deselect Sat and Sun so my contractor won’t have access to work site on the weekends.
- Repeat Begin & End Times – This will further restrict access by only allowing access within the time selected each day.
- For example – I allow my dog walker access two hours in the afternoon each day from 11:00 AM to 1:00 PM. There will be no access any time outside of that range. Note if I had deselected Sat and Sun above on the Repeat Days section, my dog walker would only have access from 11AM to 1PM M-F.
- Times Limit – Toggle this on to limit the number of times a Temp User can access the lock. Range is 1 to 100 times. Anything after the number selected and access will be denied.